In training this week, the players learnt about the three stages of defence: marking the player, marking the ball and marking the space.
We started with the stance that a defender should use to defend a player.
- Be netball ready – one your toes, slightly bent knees and ready to catch or intercept a ball
- Keep close to your opponent
- Be ball side
- Take on a side approach so you can see the attacker and also the ball
- Standing slightly in front at a 45 degree angle can work too
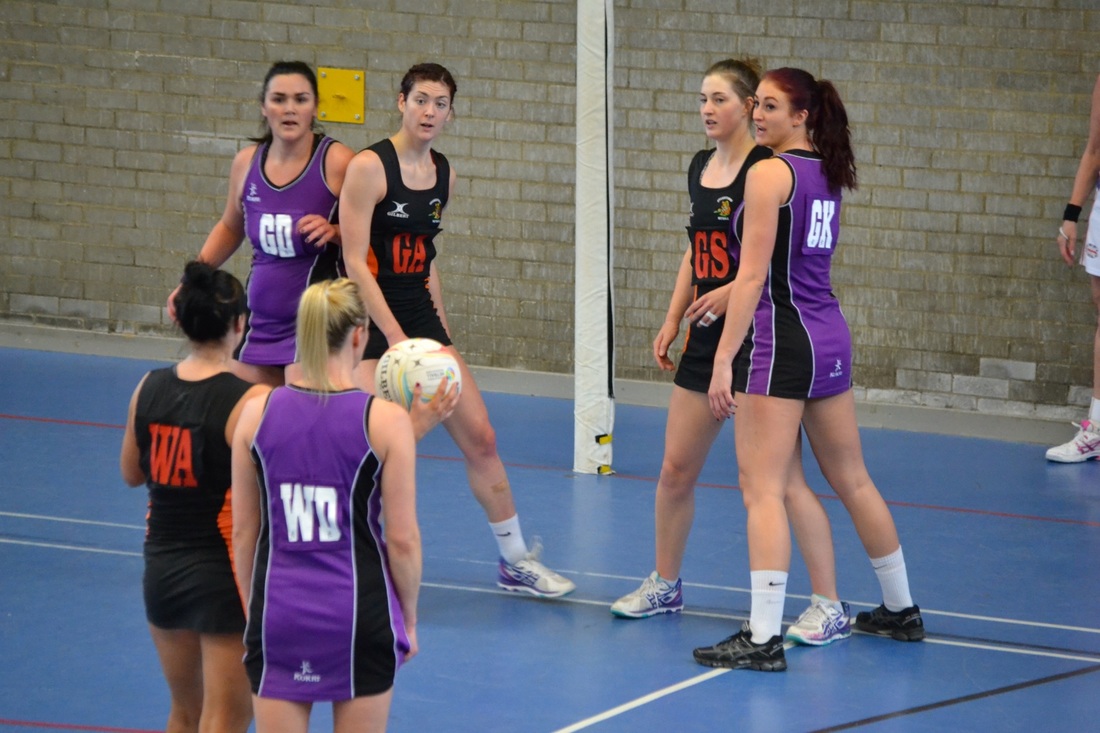
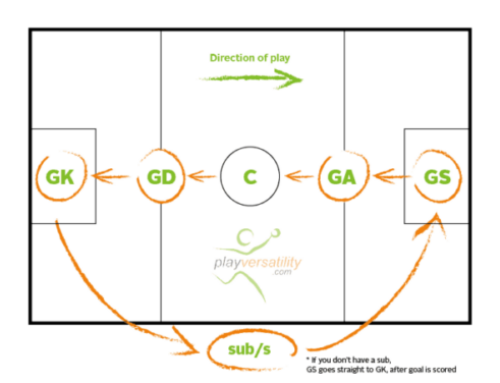
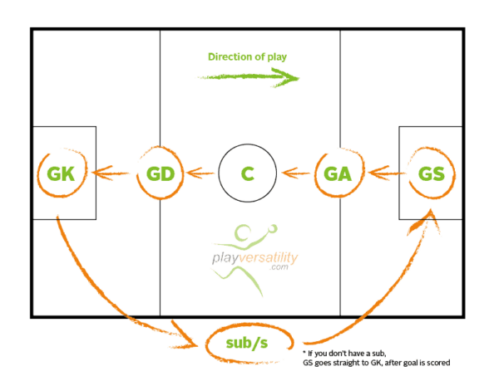
The GK is positioned to the side of the GS. If the WA tried to pass to the GS, the GK will be able to use her left arm to intercept the ball. The GK must keep on her toes and adapt her position to any slight change the GS makes.
Players then got into teams of three and practised marking an attacking player (moving slowly right and left) – always staying in front on them. The third player held up different coloured bibs and the defender had to call out the colour.
View an example of this on our netball training playlist on YouTube.
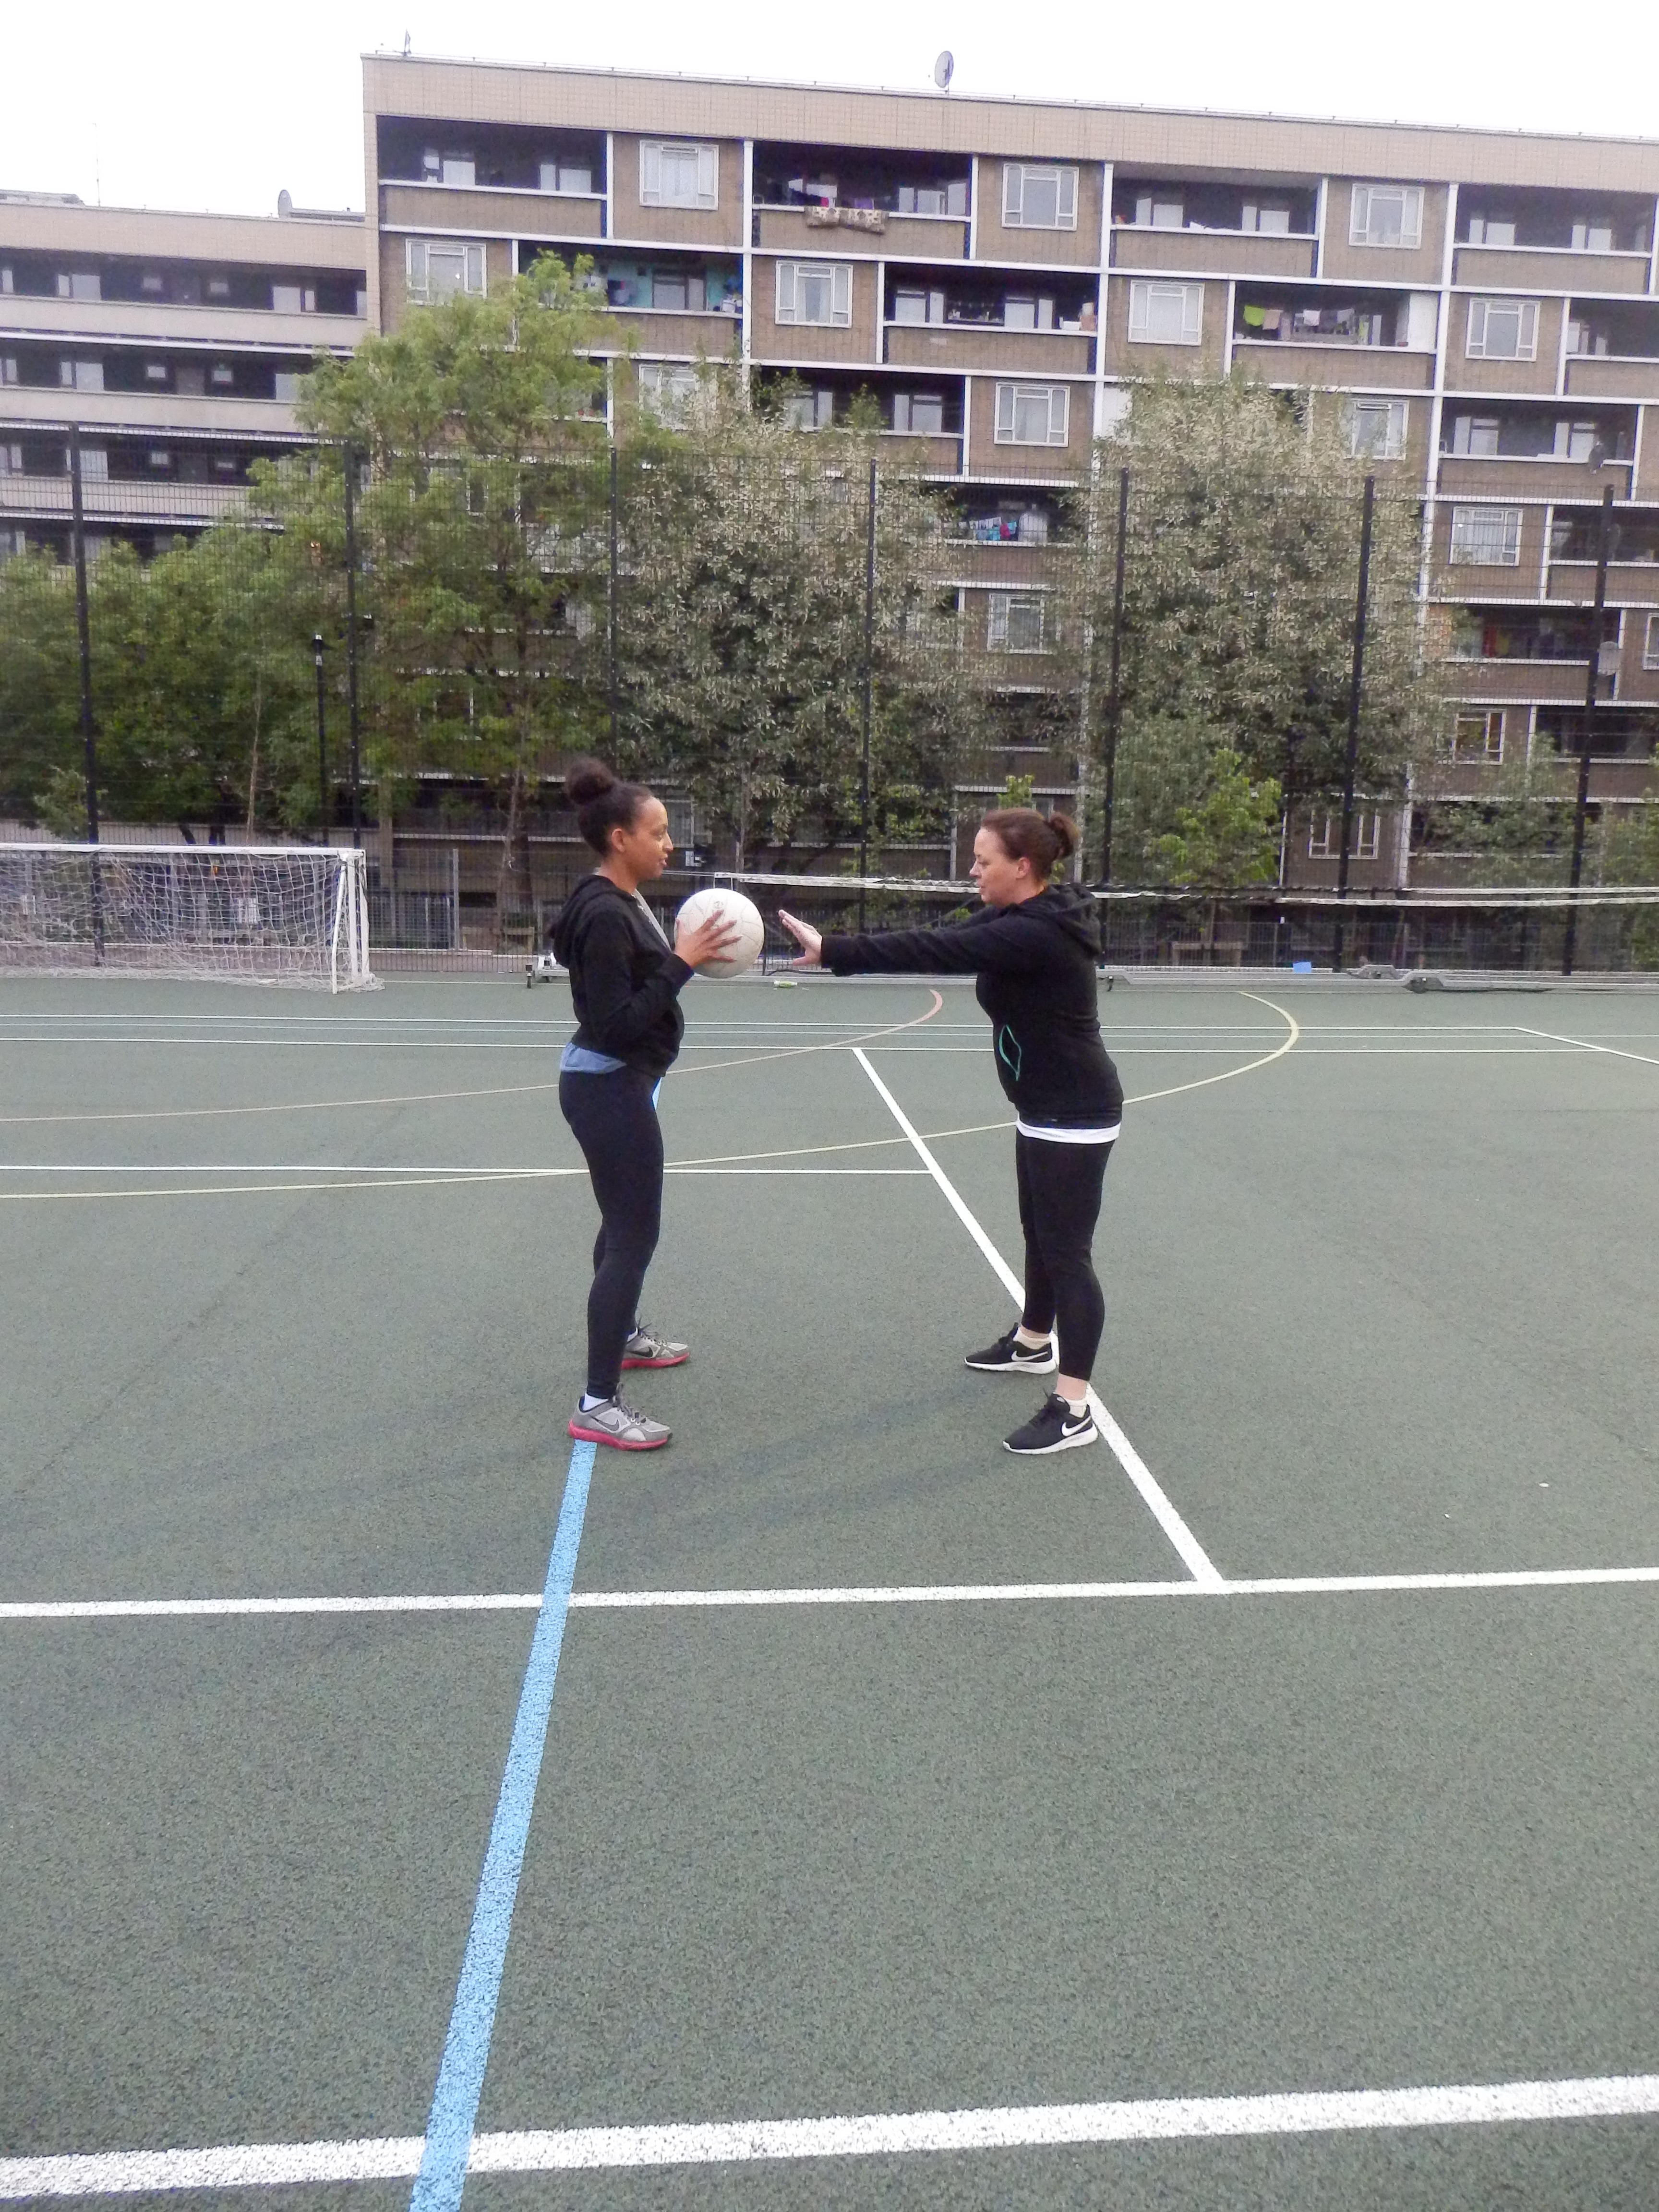
Next up was stage two defending. This is when the attacking player has received the ball and you are making it difficult for them to pass the ball on by restricting their options. There’s also a chance that you can intercept the ball once it’s been thrown.
- Your feet should be 3 feet away from the attacking player’s landing foot
- Go up onto your toes for more height
- Keep your arms and hands outstretched
- Communicate with your team – players should call out to each to move left or right to help intercept the pass.
- Jump when the player passes or shoots
- Always jump for the rebound
DRILL TO PRACTISE STAGE 1 DEFENDING
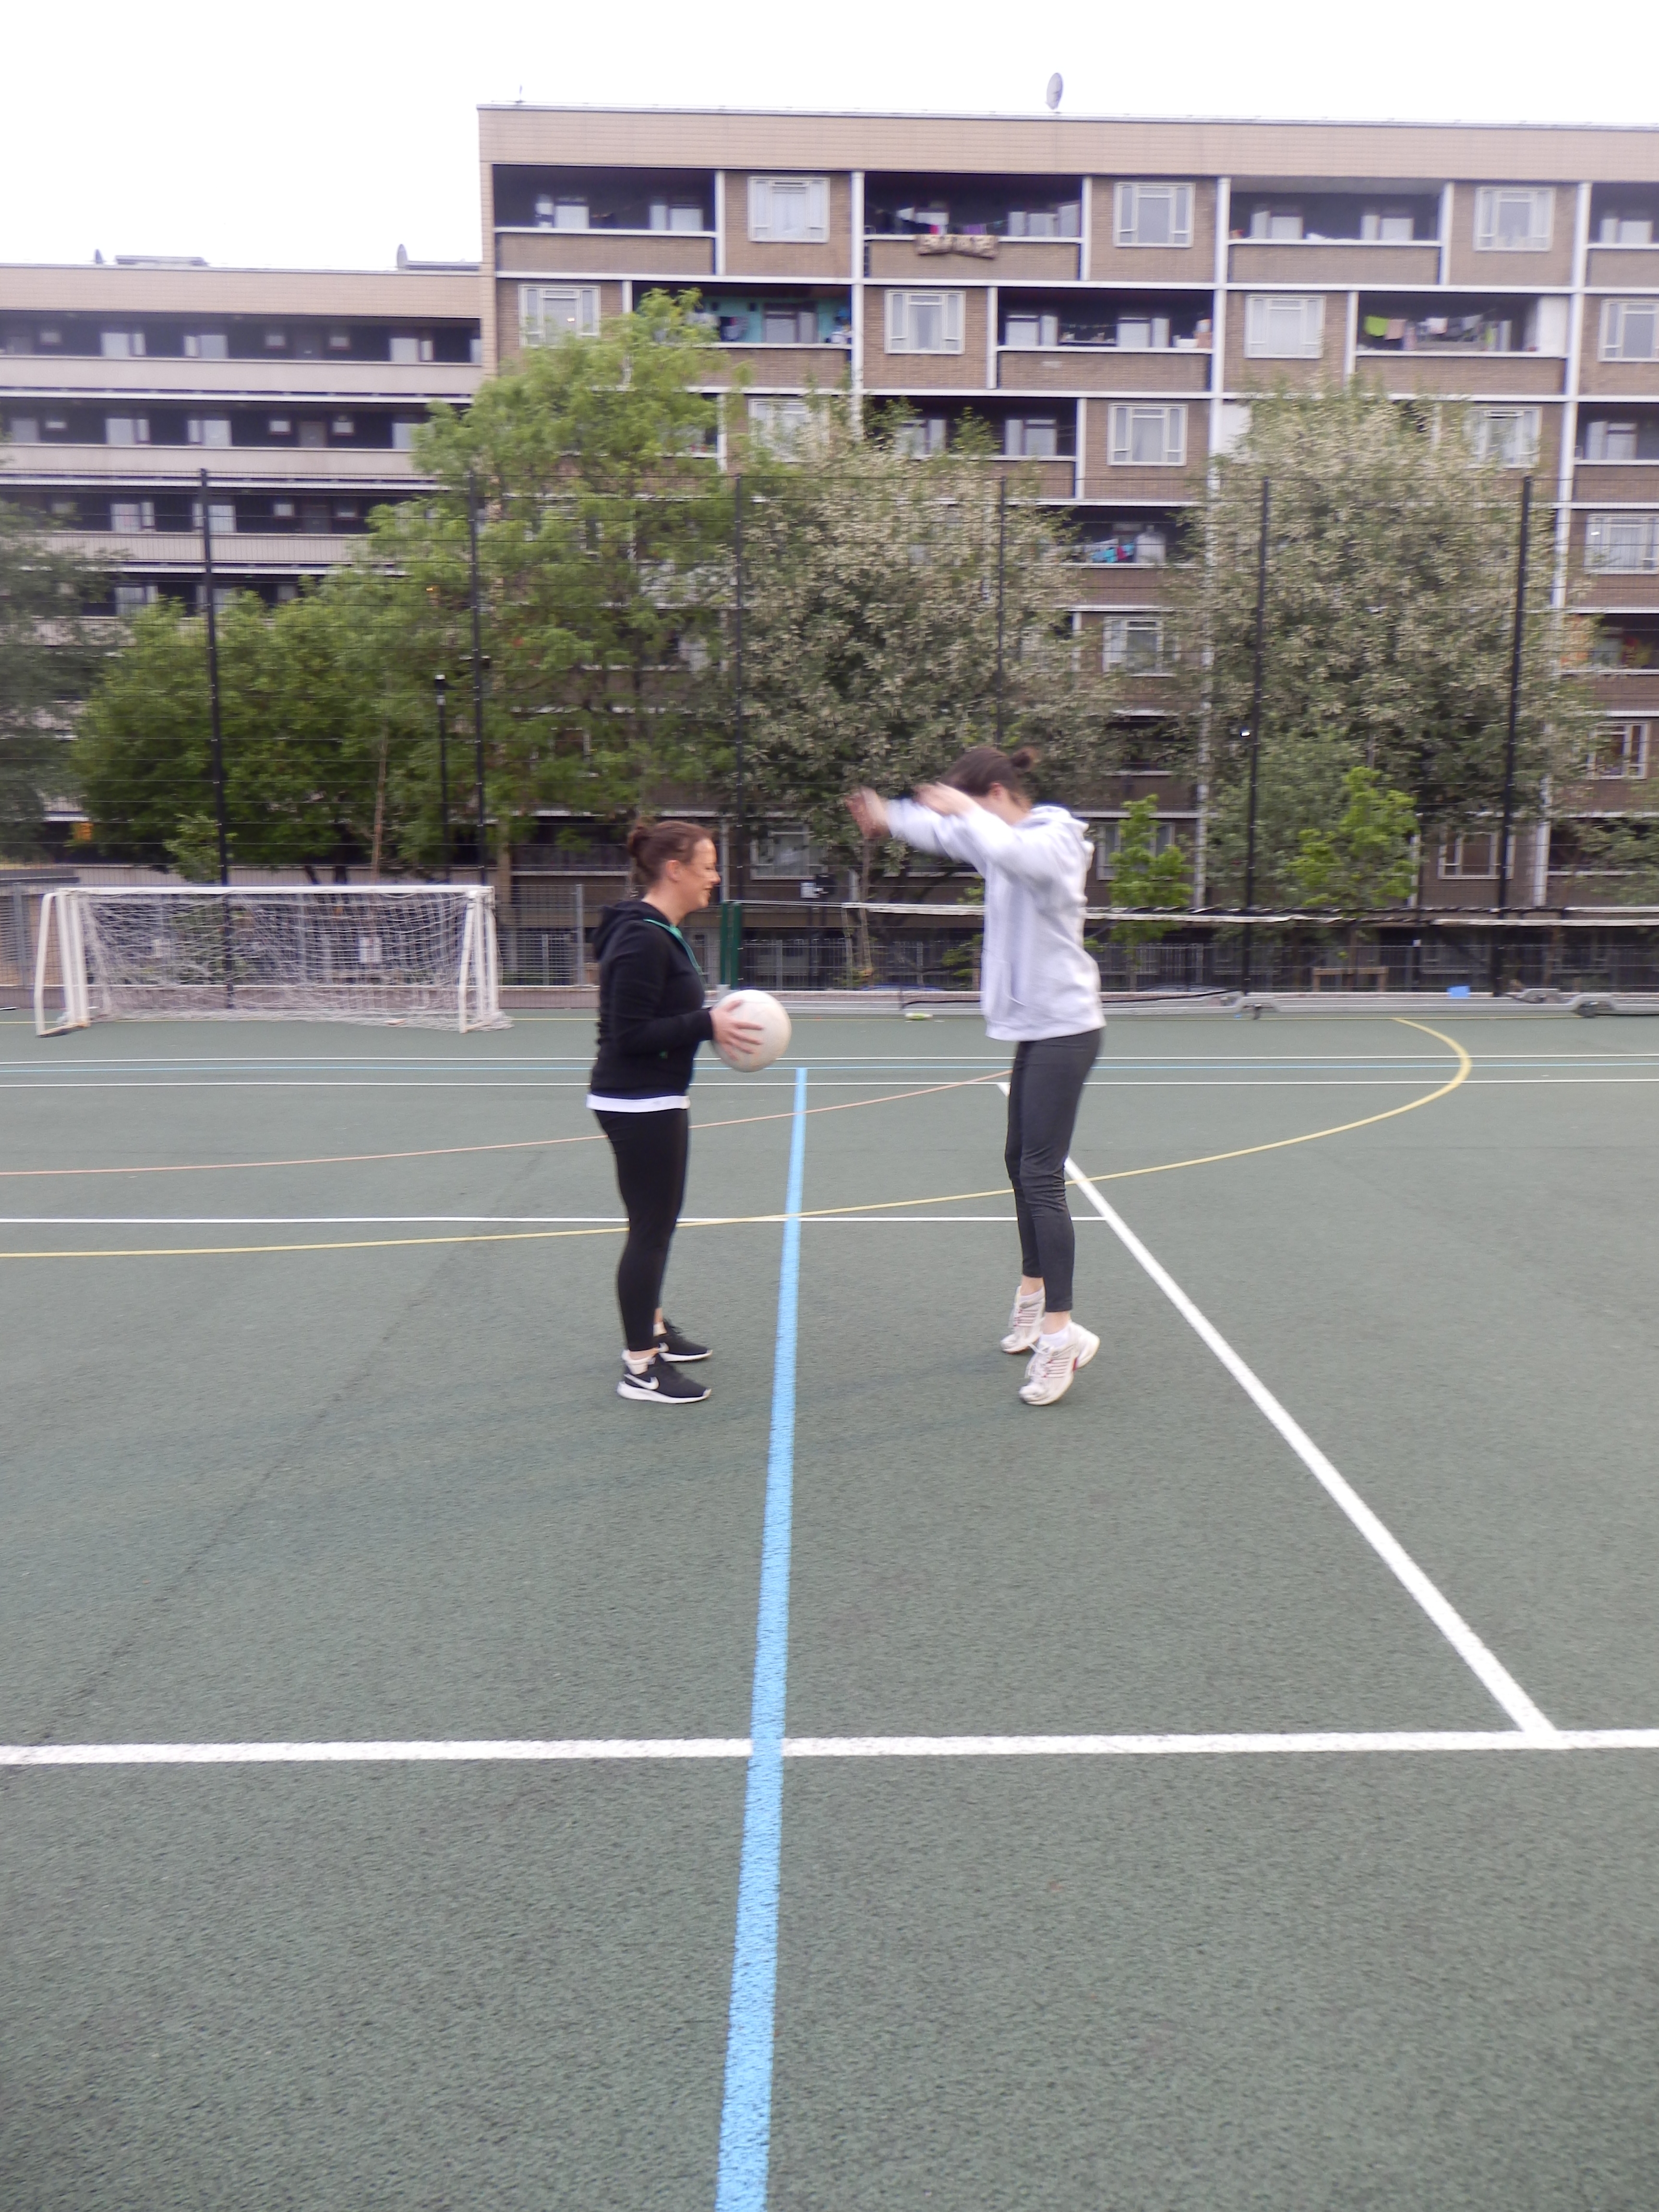
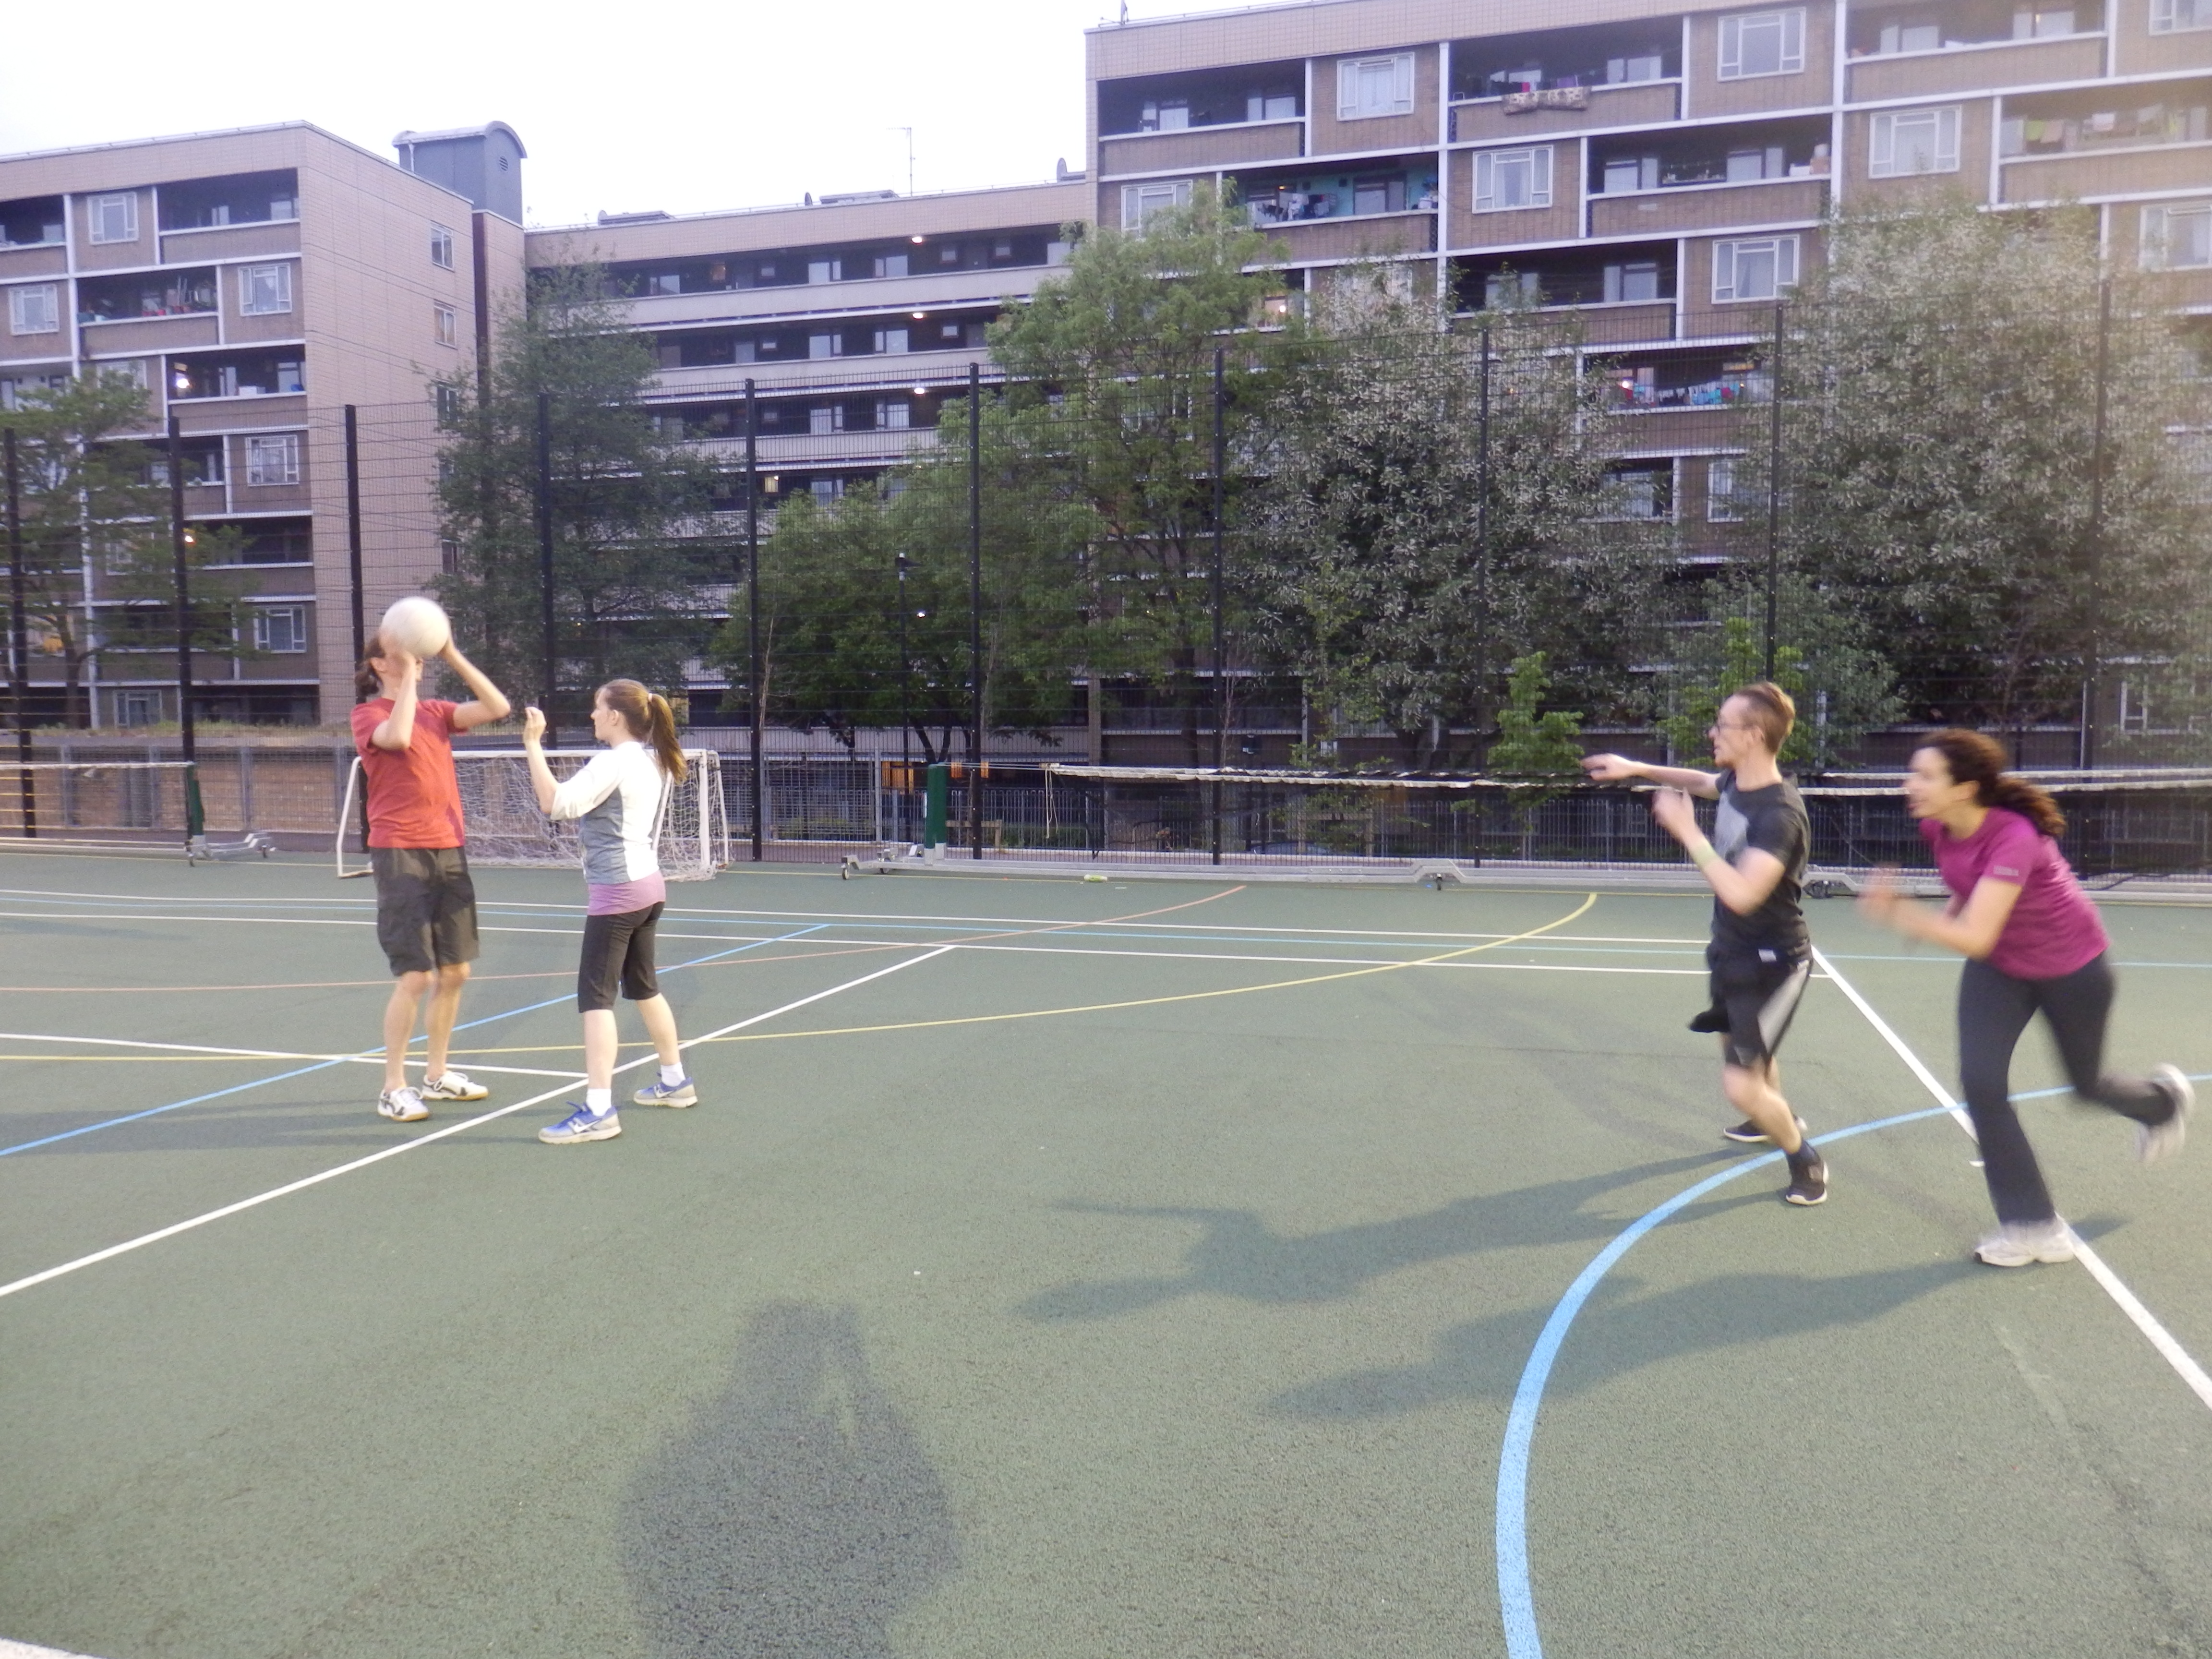
A great way to practise your reactions is to play ‘ANYWHERES’. In pairs, facing each other, one player passes the ball; chest, bounce, shoulder, left and right. They are quick frequent passes that the other player (the defender) must react to as quickly as possible and pass back to the first player.
DRILL TO PRACTISE STAGE 1 and 2 DEFENDING
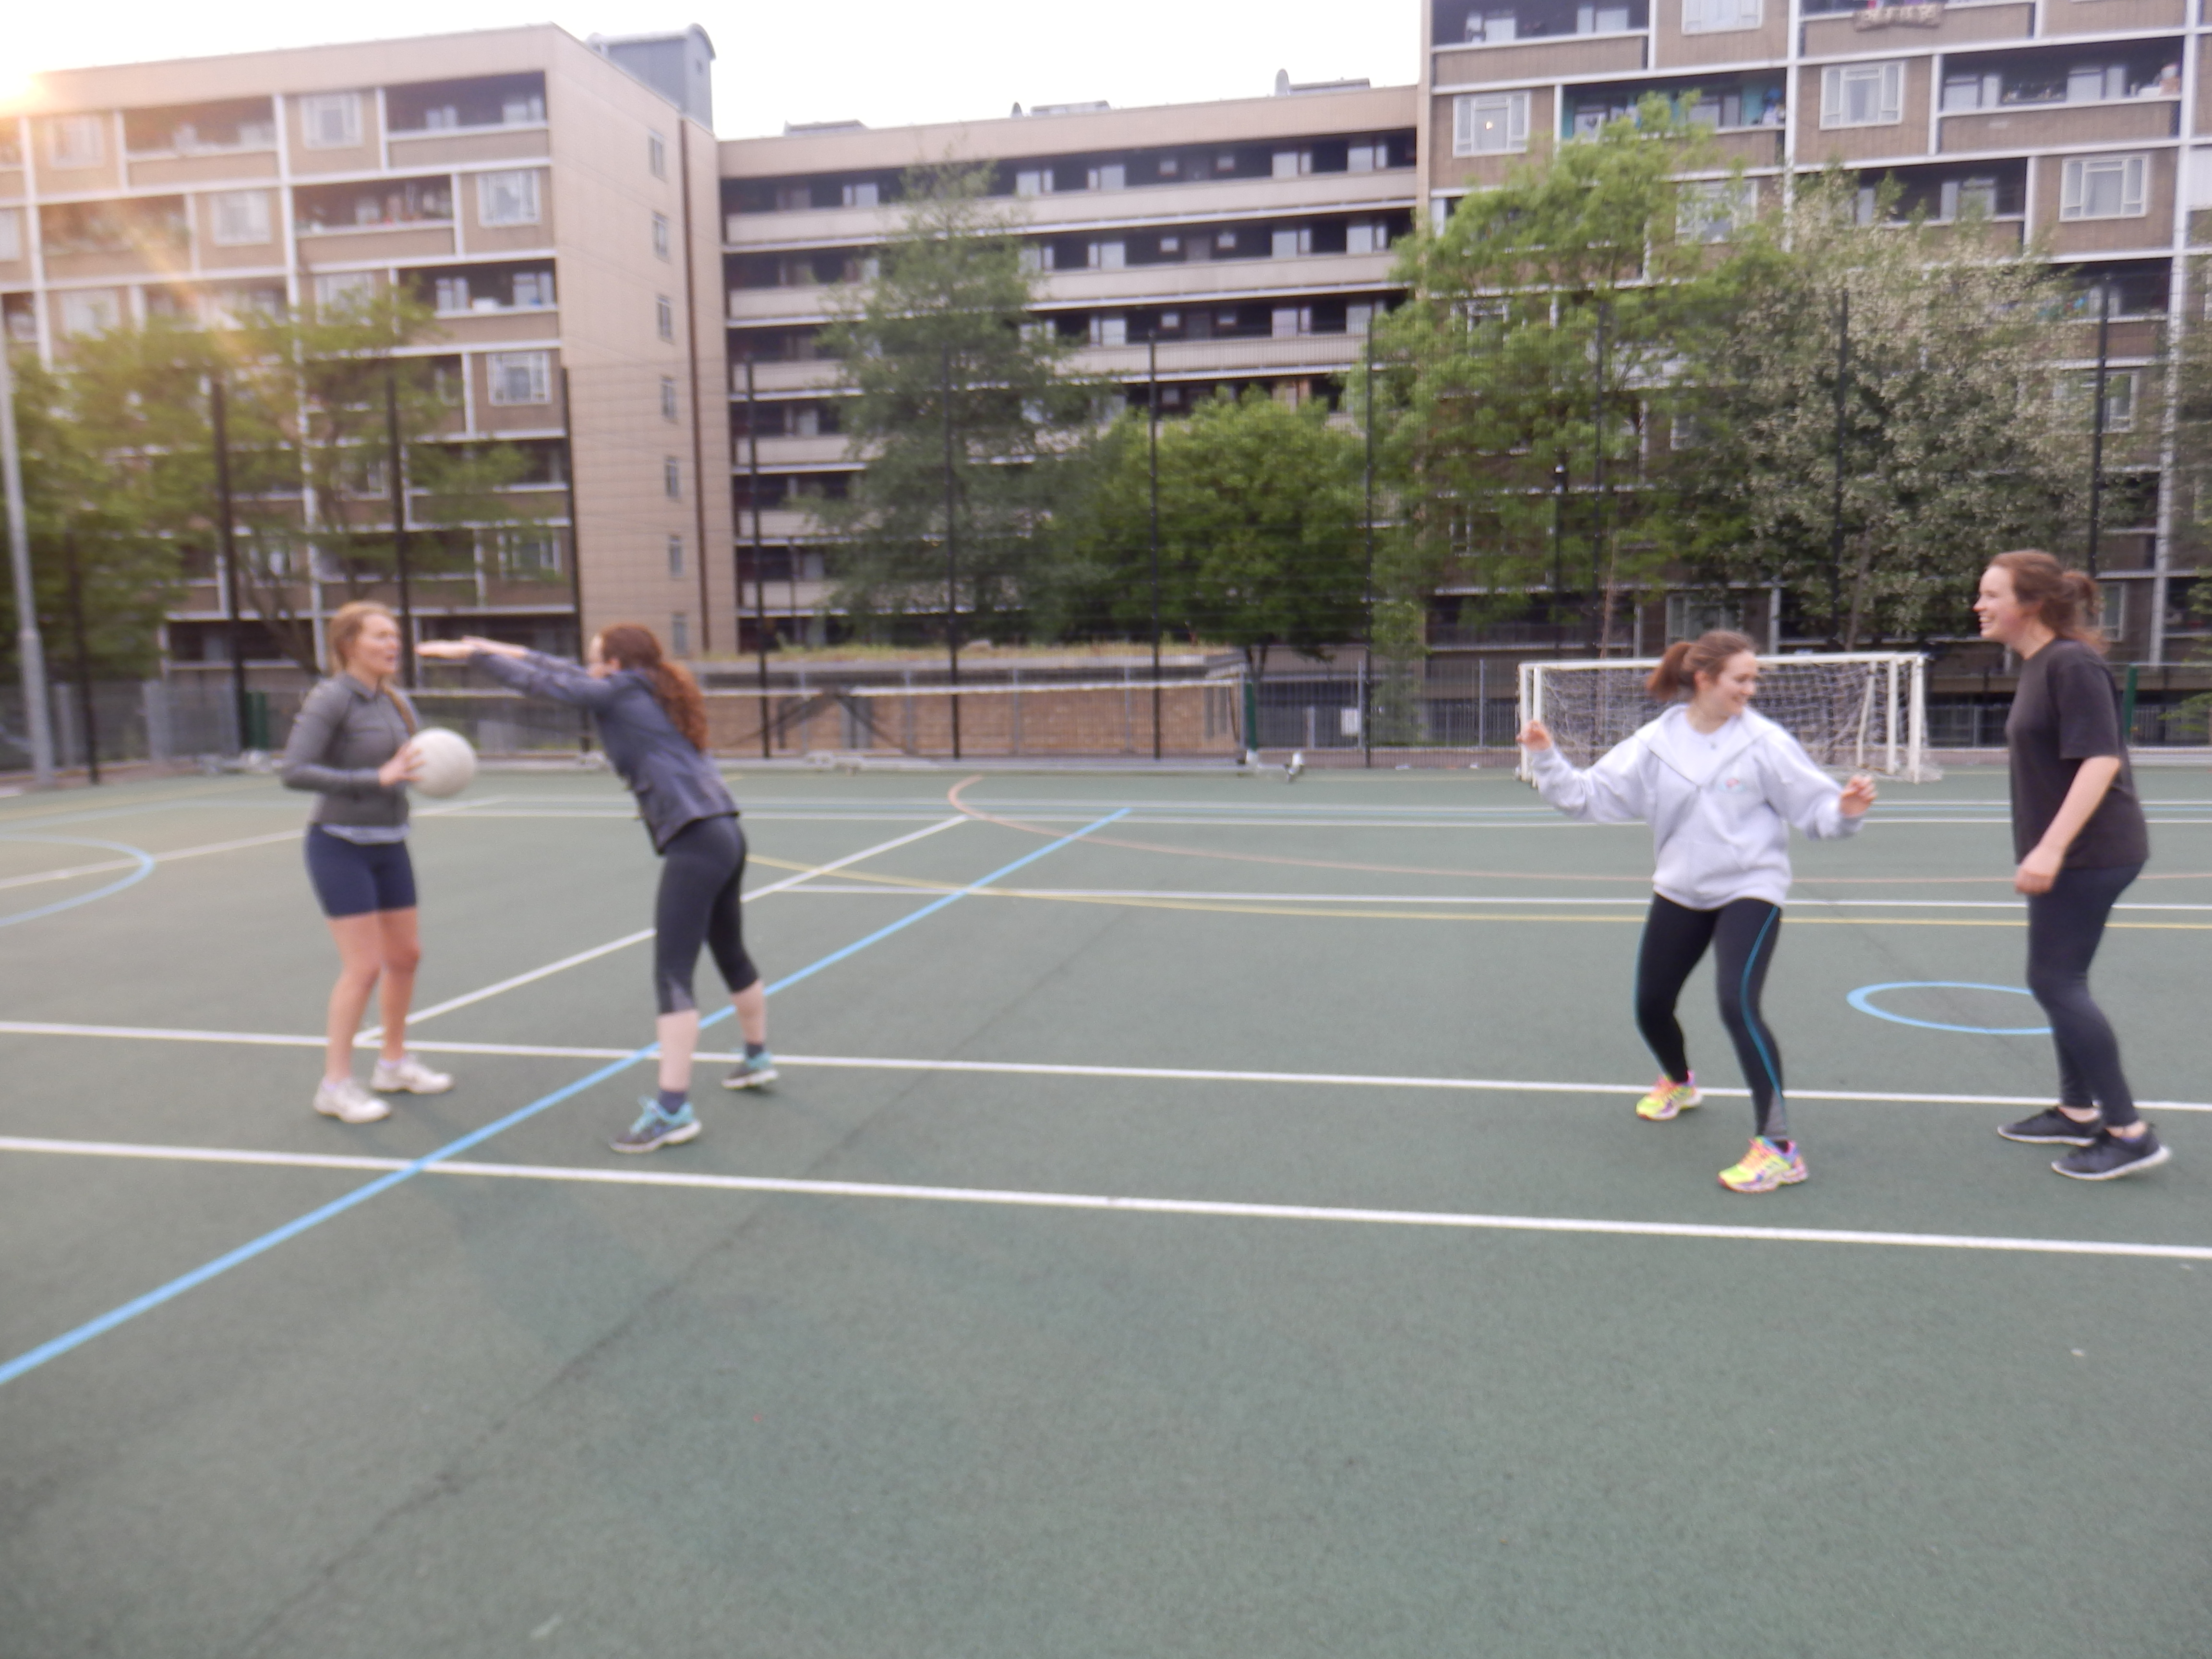
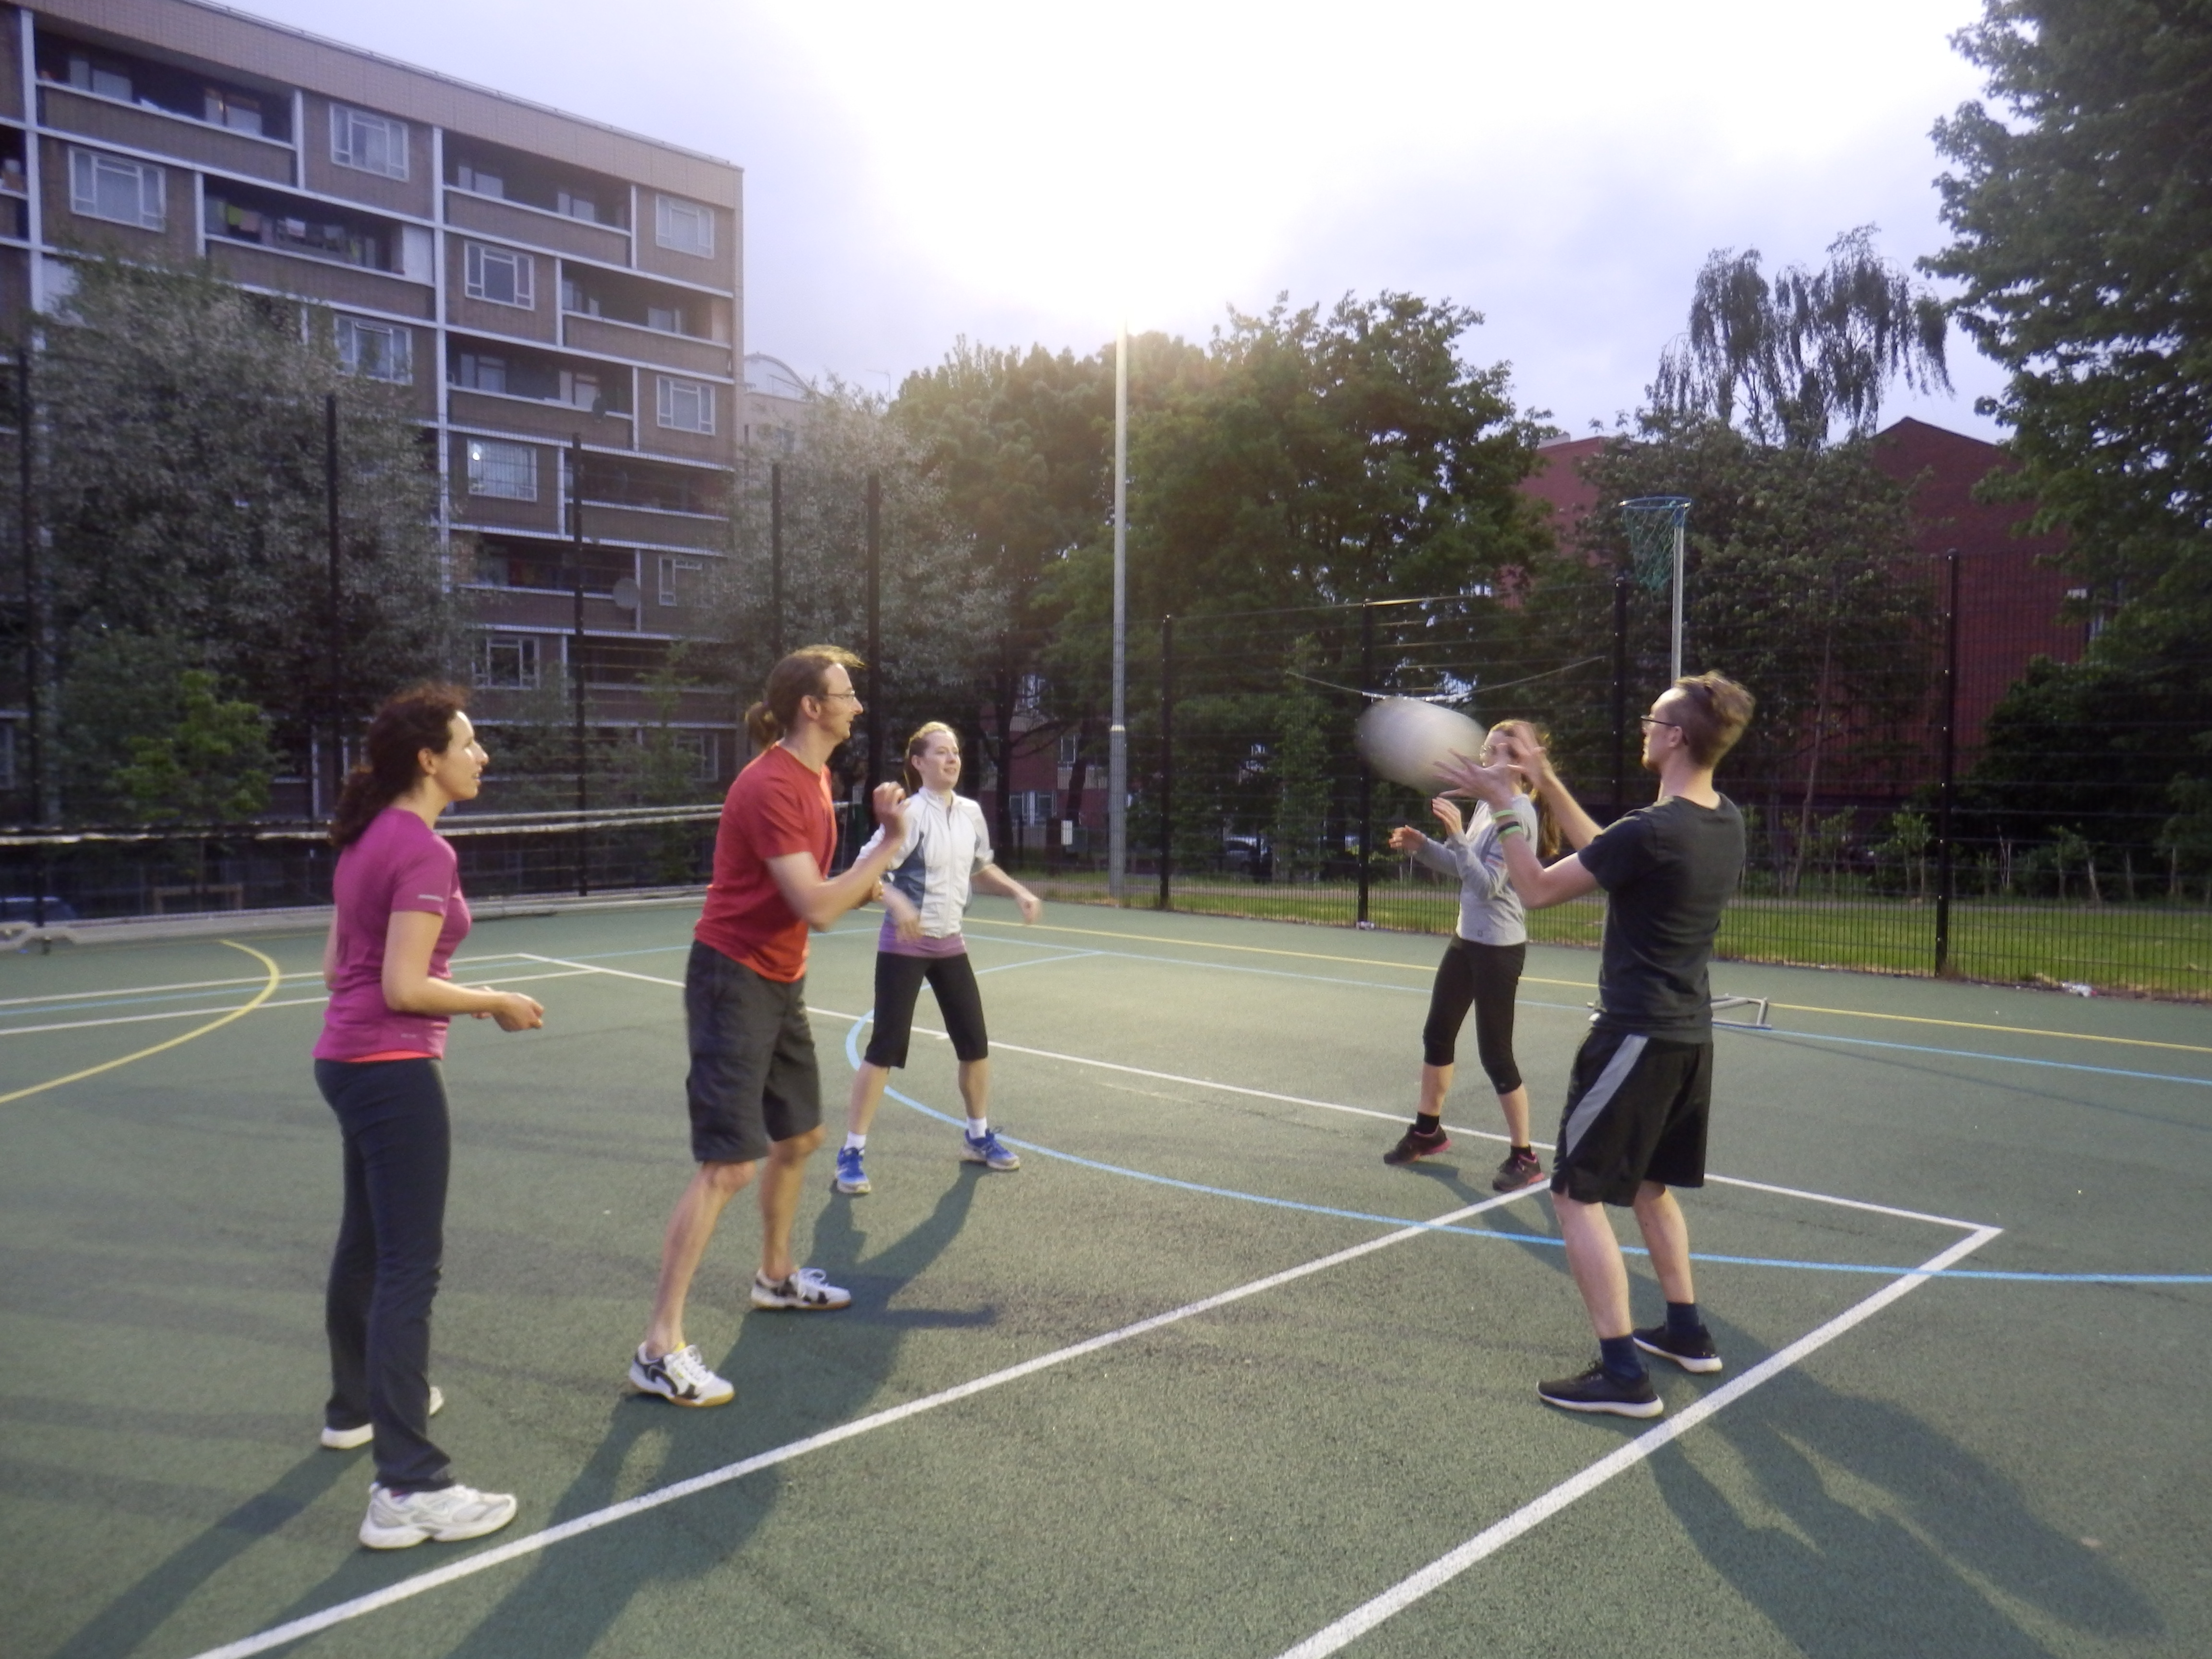
Communicating with your team will improve your defence. We combined stage 1 and stage 2 defending into one practise so that players could work in pairs to defend. The feeder had the ball with a defending player in front of them (stage two defending) and then another attacking player ran towards the feeder (either out to the right or left). This attacking player was also being marked by a defender (stage 1 defending). The second defender would call out to the first defender whether the attacking player was moving to the right or to the left. The defender could then adjust their position to block the pass better.
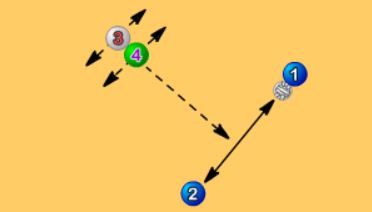
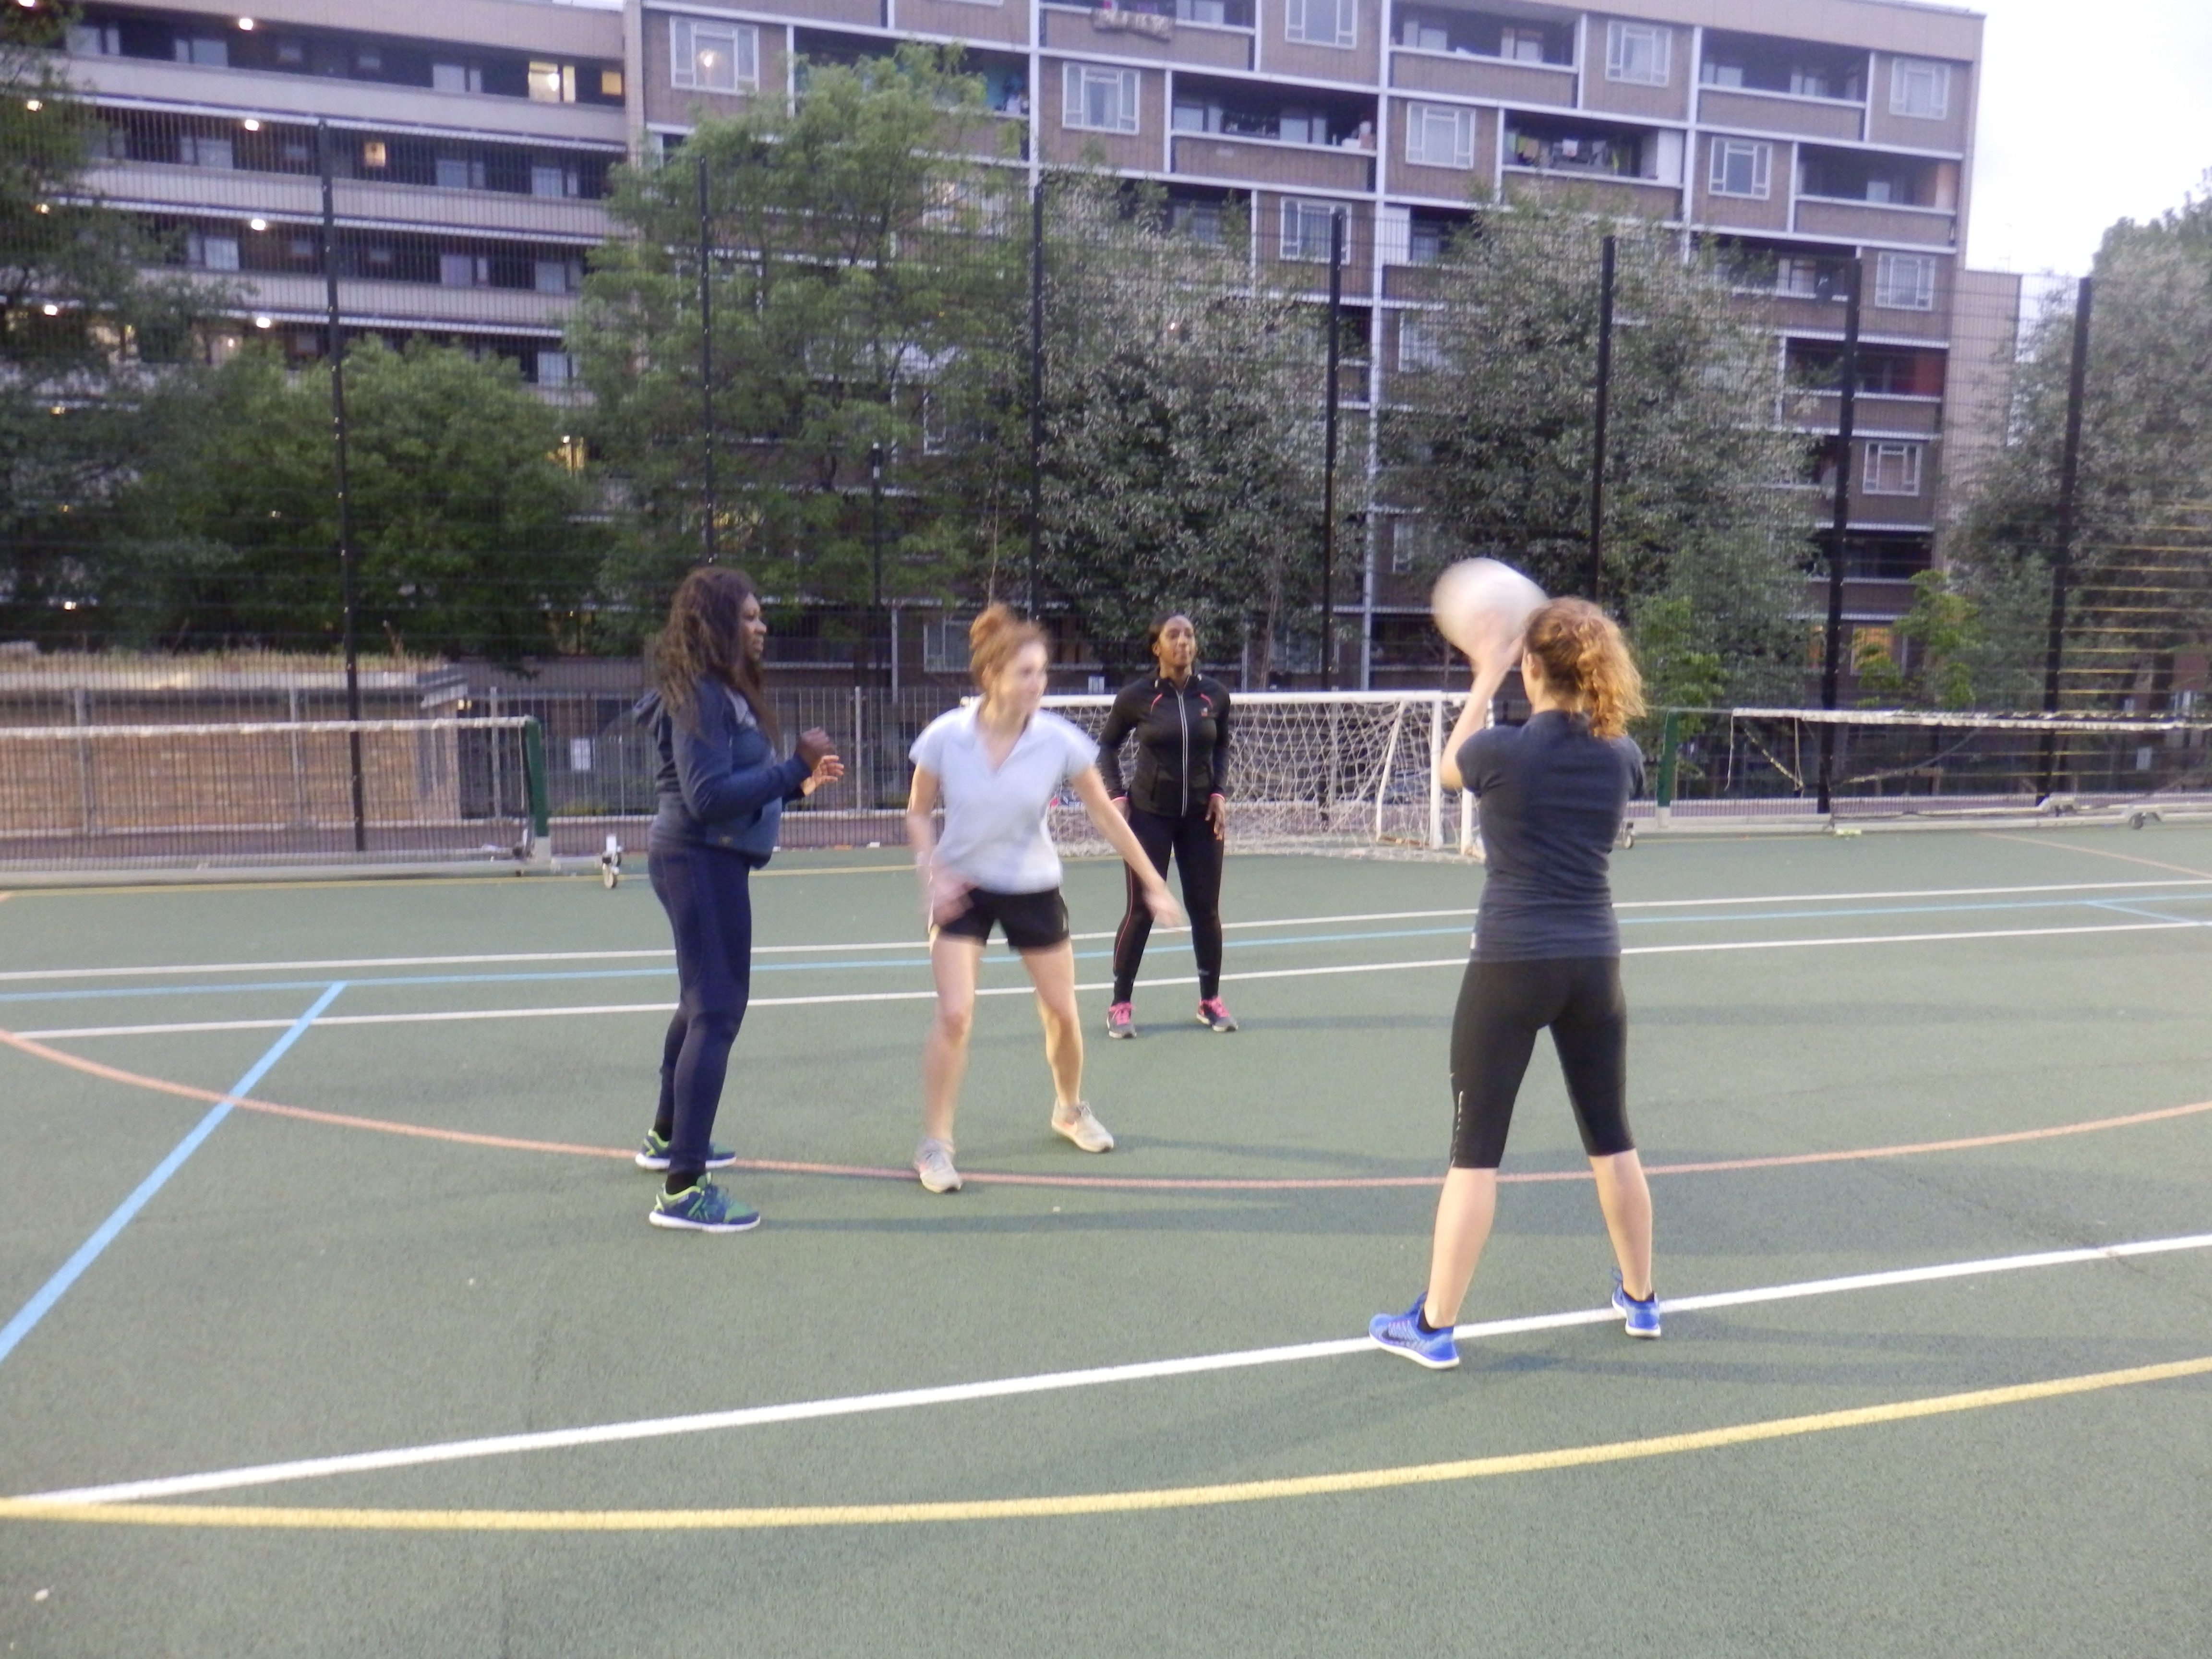
Finally we worked on marking the space. In 4’s two players passed the ball to each other while a third attacker stood out from them to make a triangle. The defender marked the third attacker. In this drill, the defender has to time their movement so that they could intercept the ball between the two players. If the defender was too quick, the attackers could use this opportunity to pass the ball to the third player.
For stage 3 defending, players need to focus on:
- Timing
- Peripheral vision
- Where the attacking players are
- Anticipating the pass by reading player’s body language
If you’re interested in joining our netball training sessions please get in touch: interest@playnetball.com


